How to Make a Mum
October 19, 2018
Making mums has been a homecoming tradition in Texas for decades now. But maybe you’re new to Texas, maybe you’ve never quite understood the fuss behind them, or maybe you’re just curious about how to get started. No matter what your motivation for getting started is, here’s a step by step process for how to make a mum, from start to finish.
Step 1- Gather Your Supplies
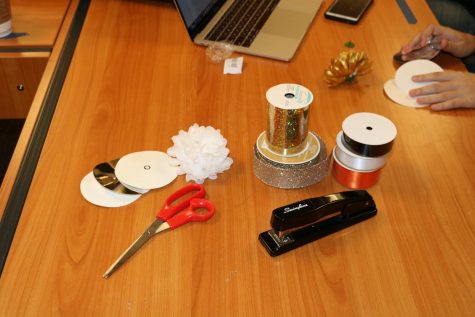
In order to make a mum you’ll need the following:
- three cardboard backers
- a mum flower
- ribbons of different colors and patterns
- a stapler with tons of staples
- a pair of scissors
You can buy all these necessities from your local craft store, but watch out for over priced material. If you need to cut costs, you can make your backers out of poster paper- just make sure to cut out a hole in the middle for the flower stem.
Step 2- The First Backer
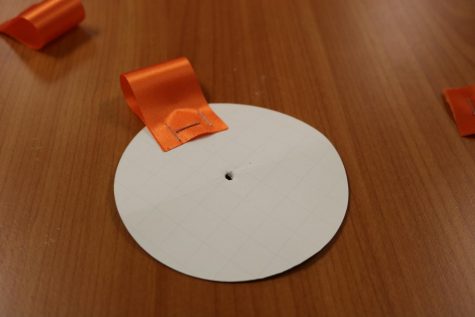
The first backer contains the ribbons that surround the mum flower. There are many different methods and styles for making it, but we’ll be following one of the easiest techniques. You’ll need one of your backers, a stapler, some ribbons and scissors.
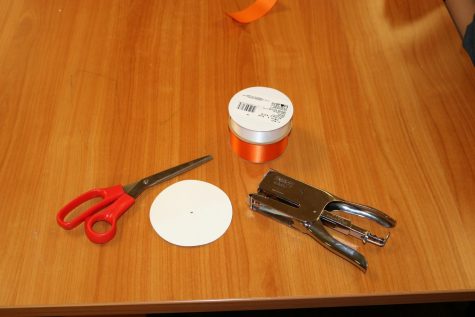
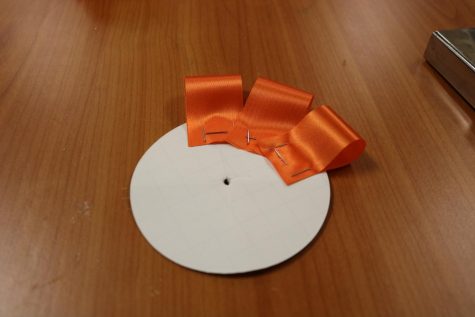
Cut a strip of ribbon about three inches long. Fold it in half and staple it. You’ll be making a bunch of these, so be aware of your ribbon supply.
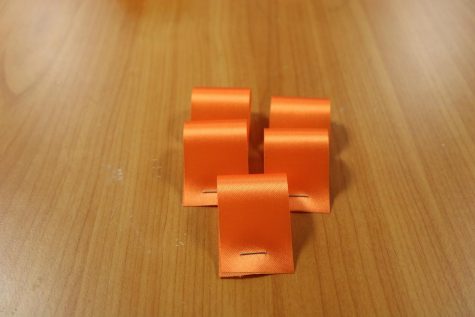
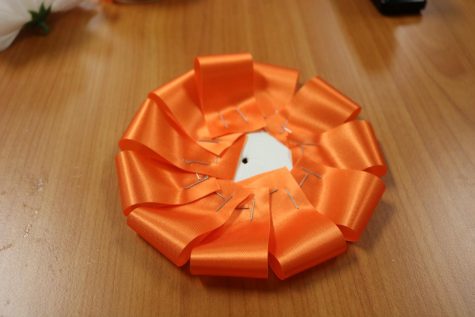
Once you have around 10 of these little loops, begin stapling them to the backer. Make sure they line up with the center of the mum so they don’t look crooked. Continue stapling until you’ve taken up the entire circle.
Step 3- The Second Backer
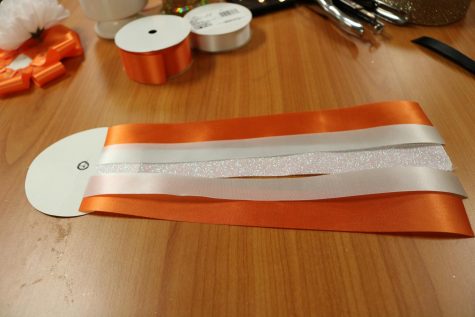
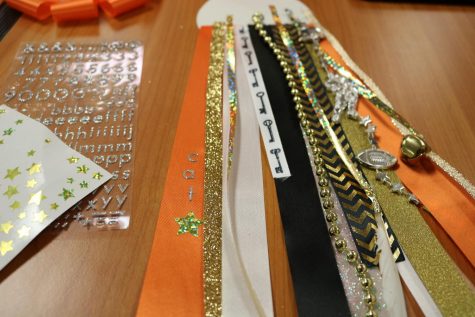
The second backer contains all the ribbons hanging downward, so it’s arguably the most important piece. The first step is to lay out your ribbons before you start stapling, to get an idea of what they look like before sticking them on. I like to start with some solid color ribbons to give the mum some volume, so it doesn’t look empty or bare. Don’t be afraid to lay ribbons on top of each other, this gives the mum extra dimension.
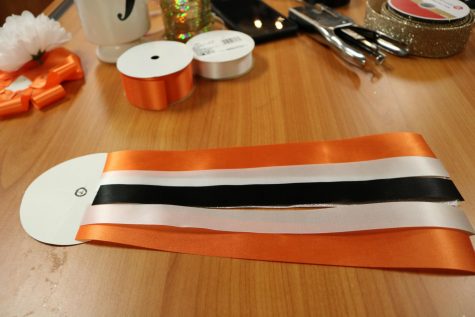
Now you can start layering in more fun ribbons, bit by bit. Feel free to play around with different lengths to get more texture.
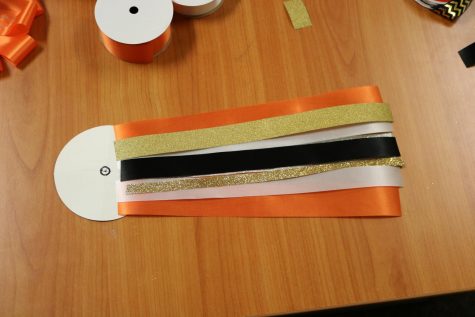
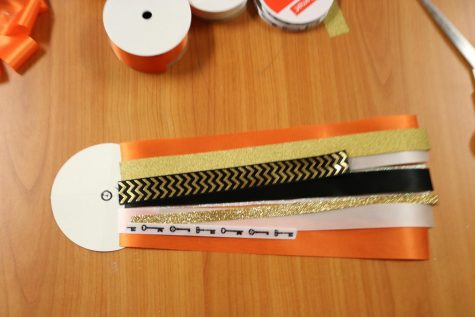
Adding a personal touch can always makes the receiver of your mum feel extra special. This mum was made for a fellow journalist and football fan, so I added a feather and some football beads, along with bells to make some noise.
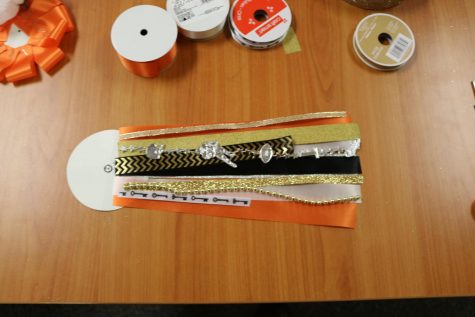
Once your Mum is all laid out, it’s time to it together! I like to set my lighter ribbons aside (i.e. ribbons tied to bells or feathers and lengths of beads) so I remember to put them on last. Remember it’s okay to change your mind about the placement of a ribbon, as long as it looks the way you like it.
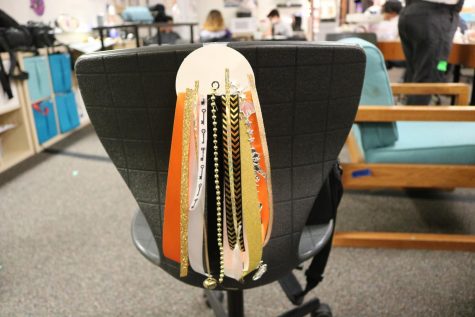
Adding stickers can be a fun touch! For this mum, I spelled out the recipient’s name.
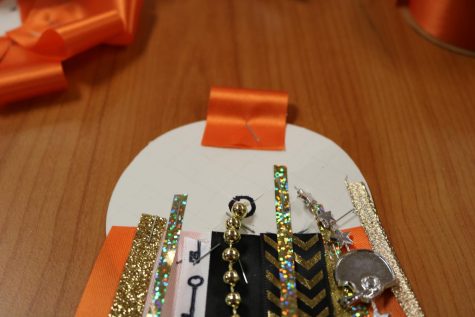
The last step before putting everything together is adding a little tab at the top of the backer. This allows whoever you’re giving it to to hang it on themselves.
Step 4- Putting It All Together
Once all your backers have ribbons on them, it’s time to glue everything together. Start by gluing your first backer to your second, making sure the holes in the center line up. Then flip the two over and glue on your last backer (this should be the one we haven’t touched yet).
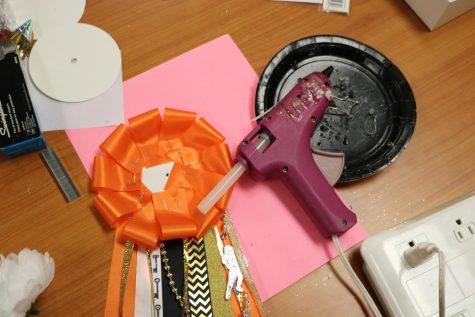
Next, apply hot glue to the front of the first backer and carefully insert the stem of the mum flower through the hole. Now press down on the flower to ensure it’s firmly attached.
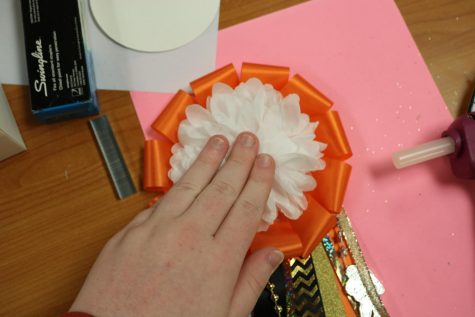
Lastly, I like to add a little something extra to my flowers, so I glued a cute little horseshoe plastic bobble to my flower. Once everything is attached, set your completed mum aside to cool.
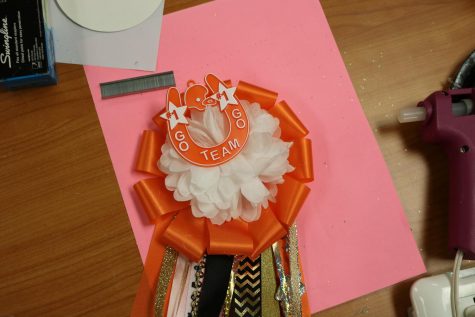
Congratulations, you’ve now made a complete mum! Whether you choose to give this mum as a present to your friend, or wear it proudly yourself, you should feel proud knowing that you’ve made something beautiful!


Alyssa • Nov 16, 2018 at 10:53 am
I finally got around to making my little sisters mum and this article was the ultimate lifesaver!!! Thank youuuuuuuuuuuu