Paper Rose Tutorial
Sage Clark, Yearbooker
February 15, 2021
-
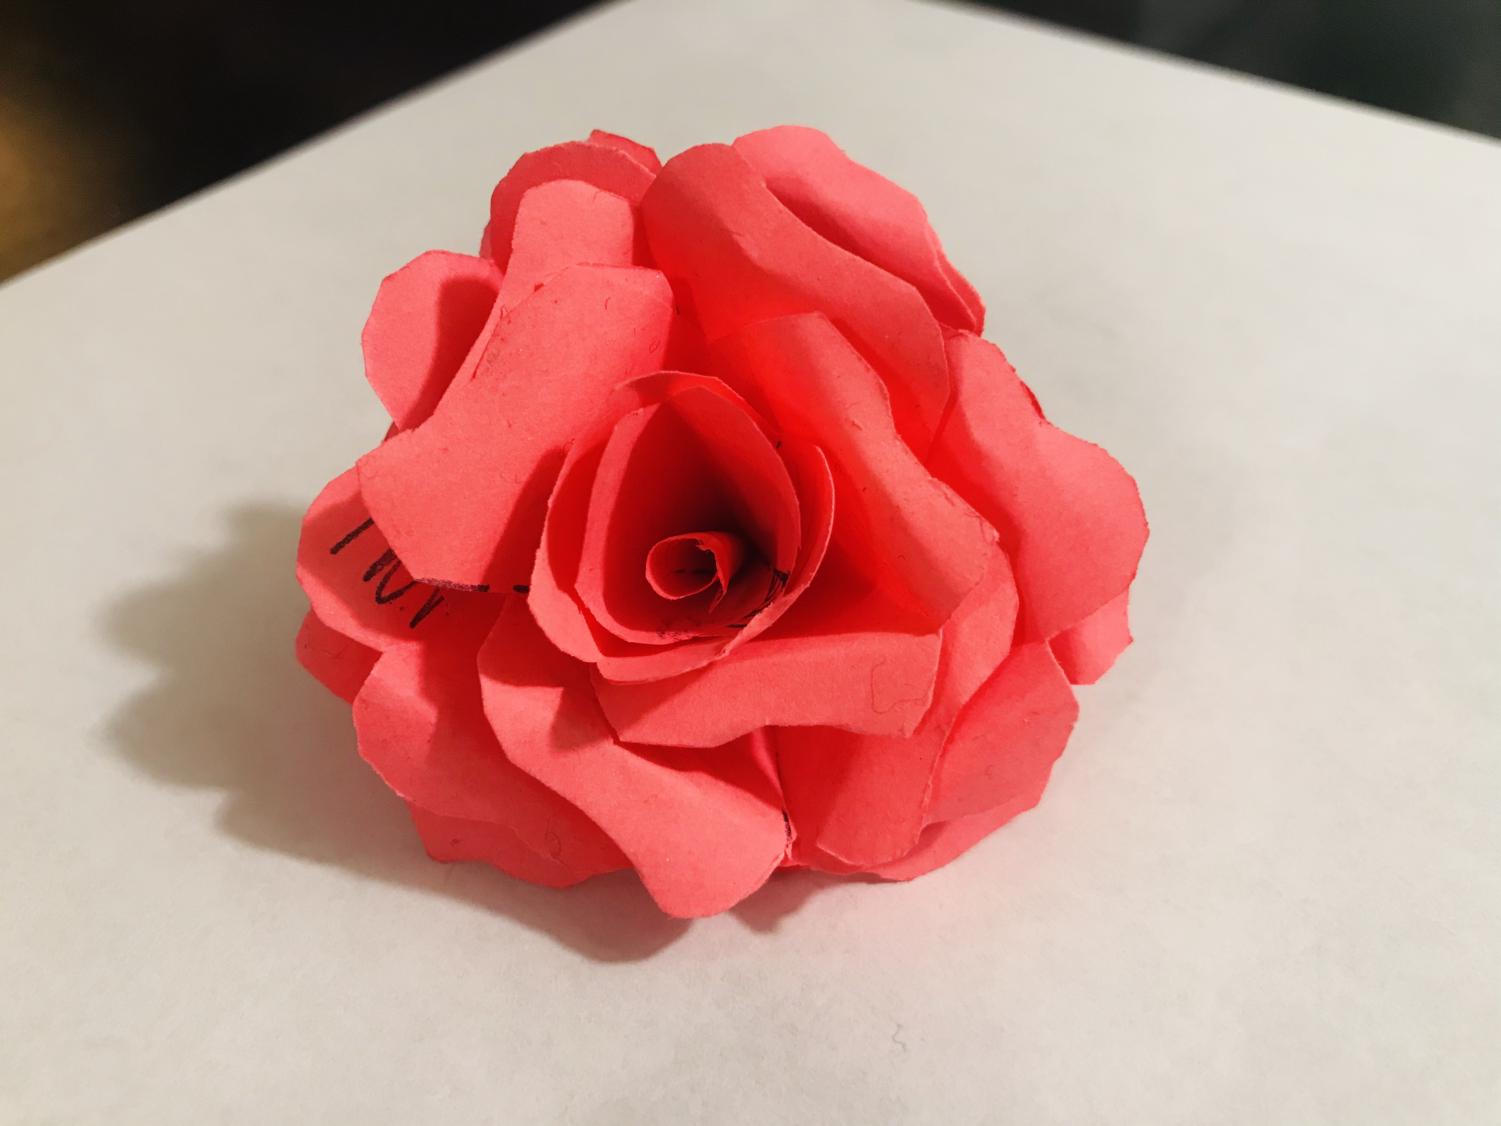
The end product should look something like this. If you want to be extra, feel free to add a stem of paper leaves for a statement.
-
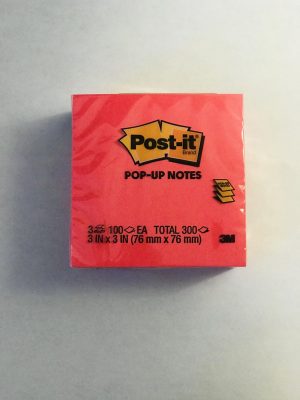
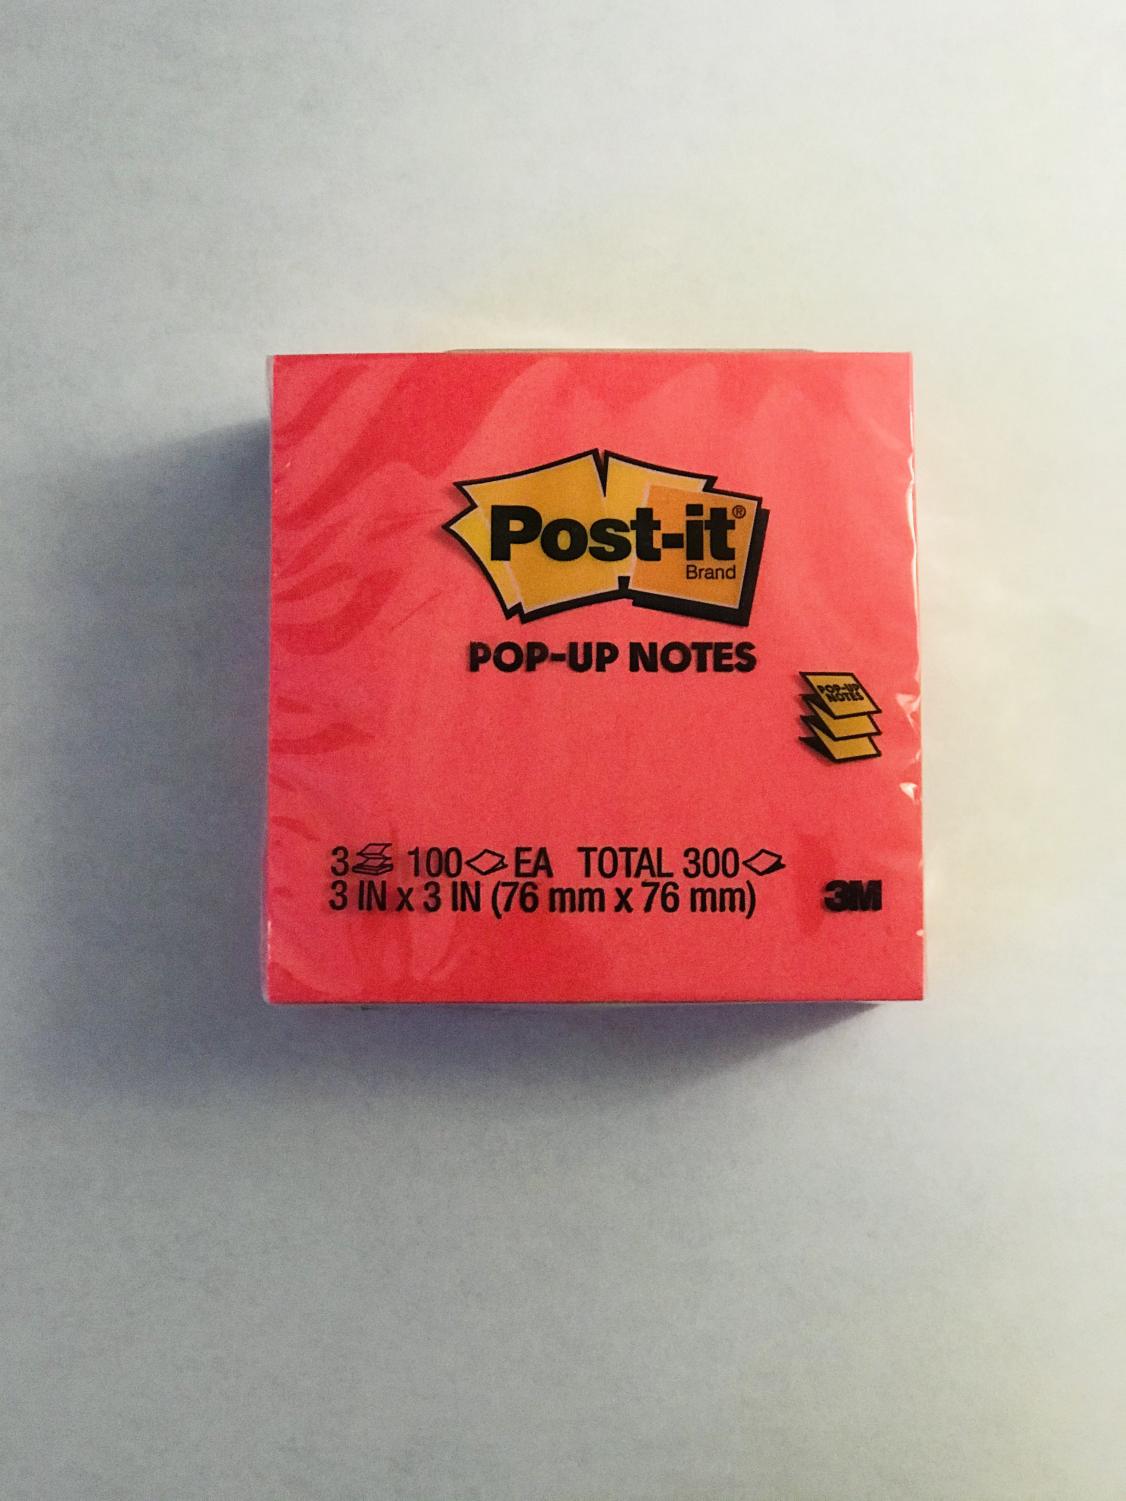
For this tutorial, the first thing you will need are some post-it notes. (Square shaped origami paper will work just as fine).
-
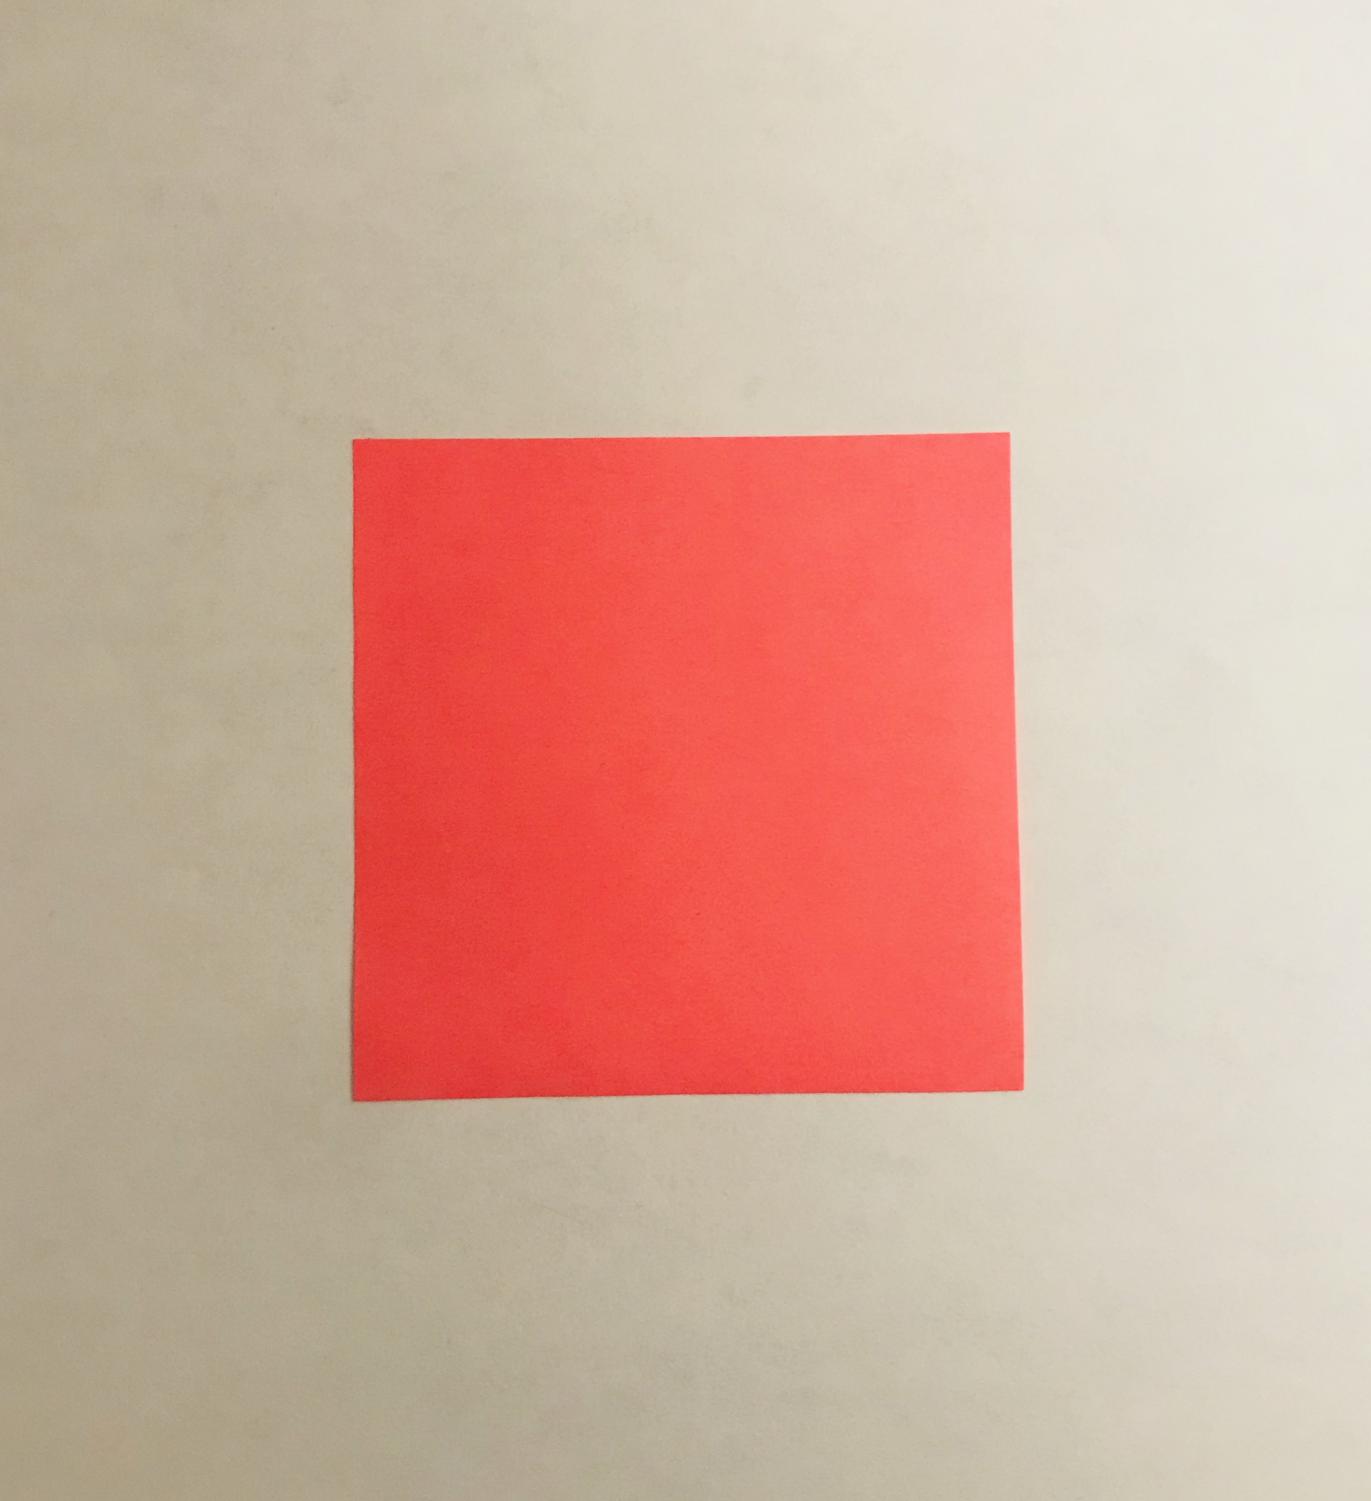
Start out with a singular post-it note.
-
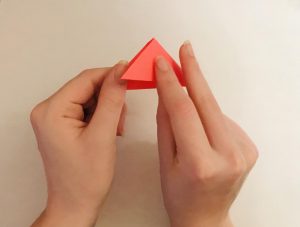
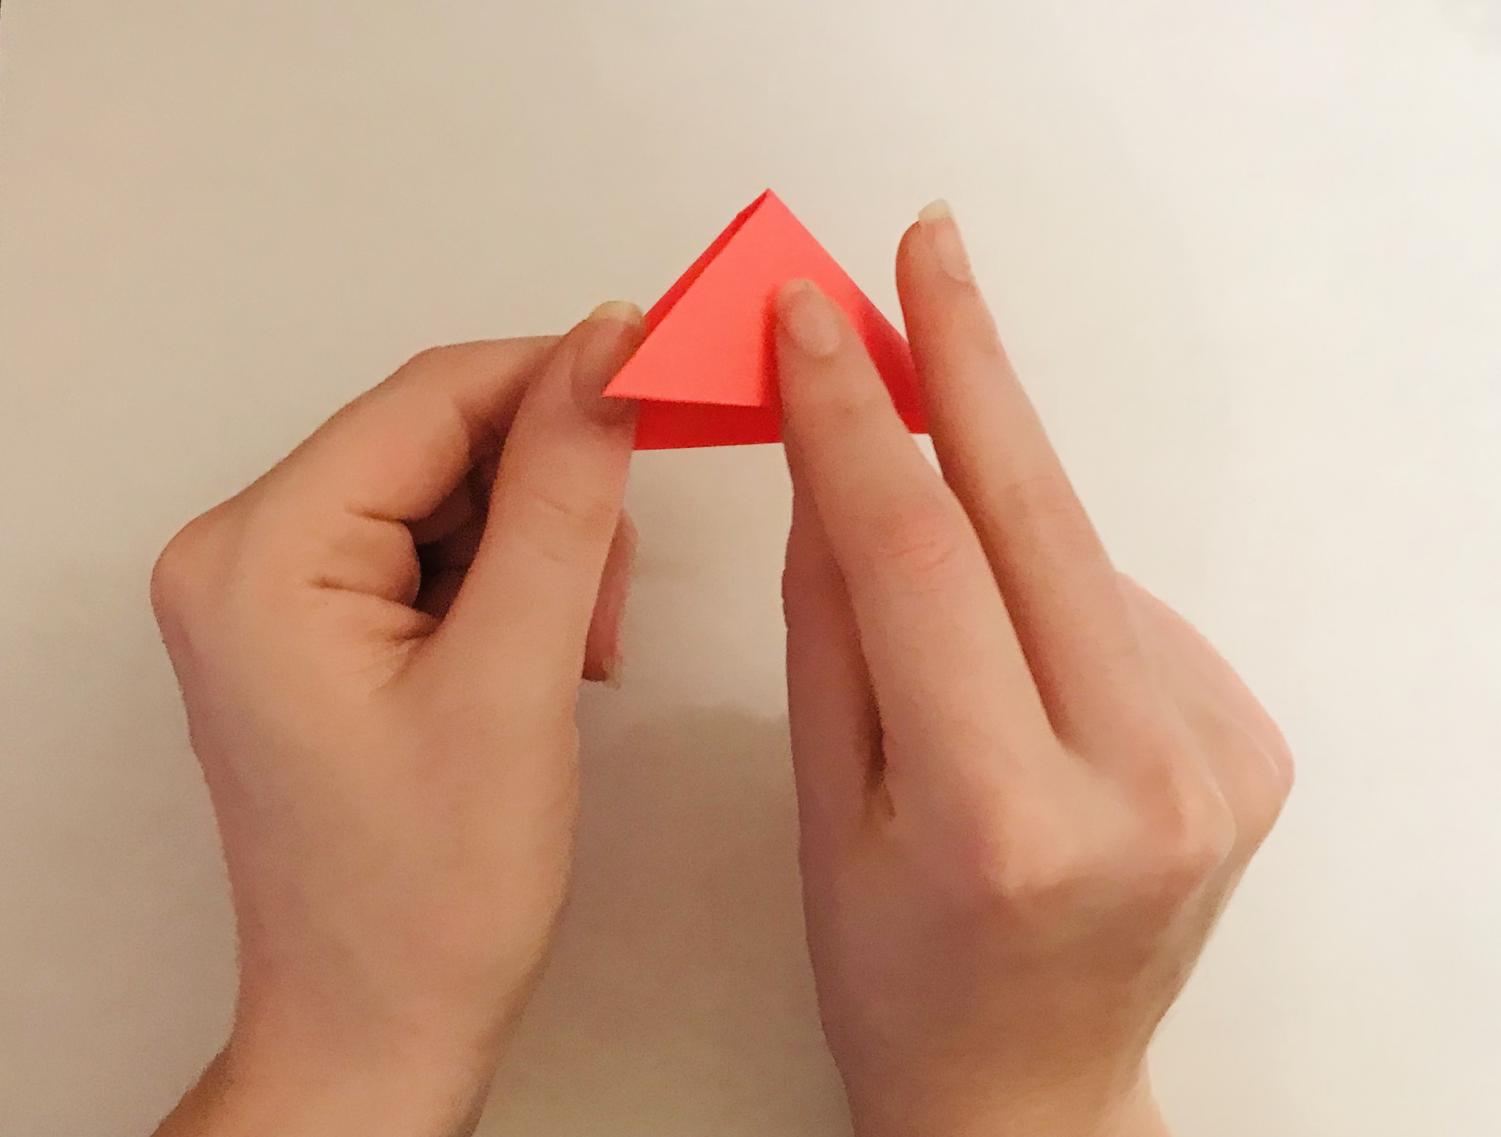
Take the sheet and fold it in half vertically to form a triangle.

-
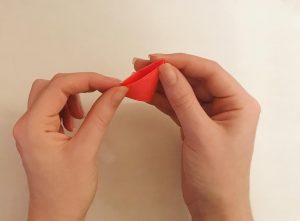
Proceed to fold the paper in half again, creating another triangle.
-
Fold that triangle in half once more.

-
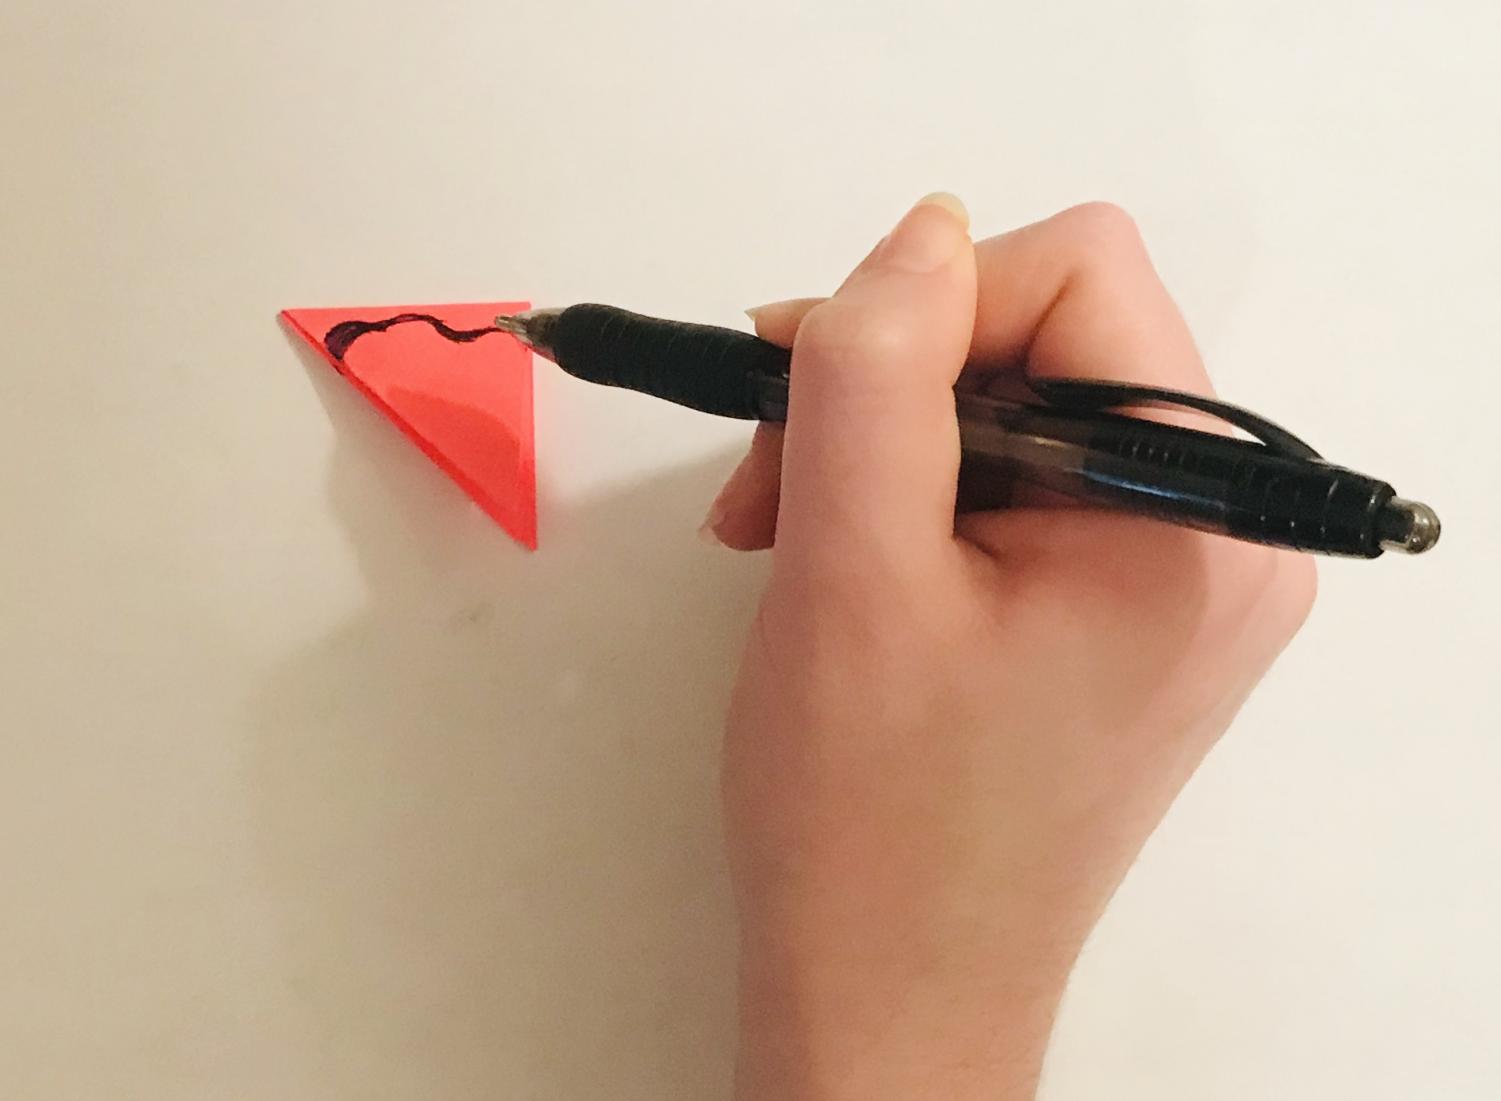
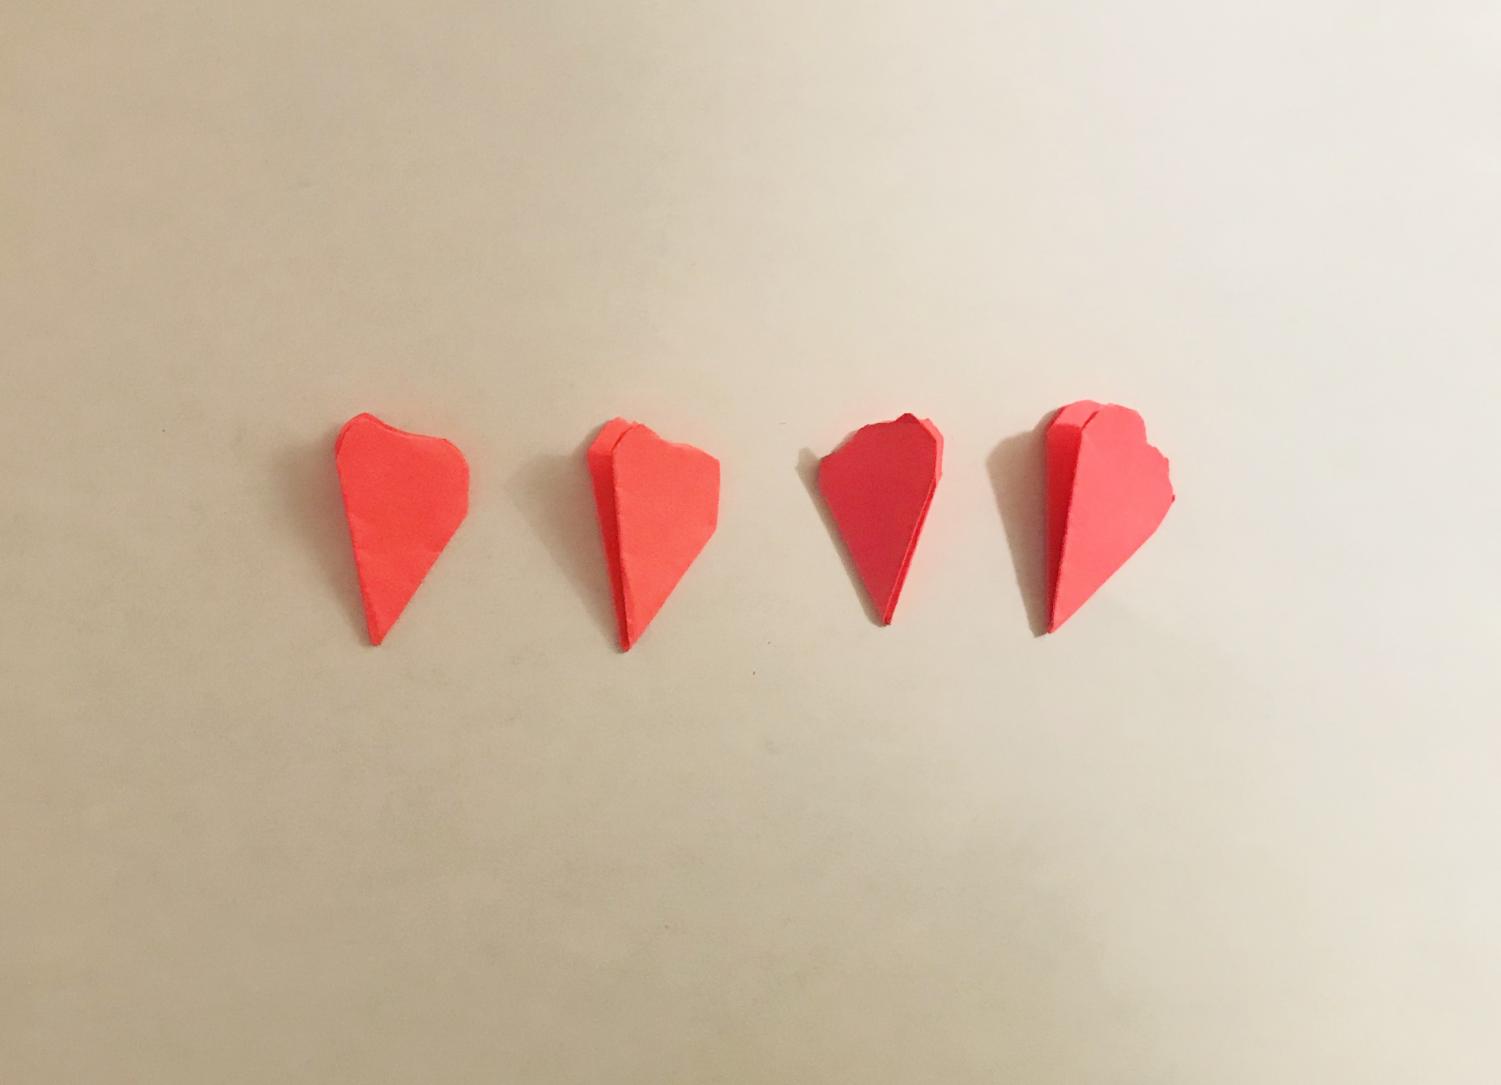
Draw a petal-like shape with a pen or pencil near the widest part of the triangle.
-
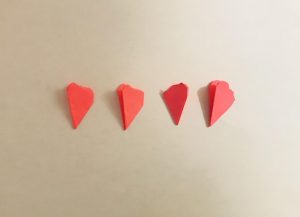
Cut along the drawn-in line. Repeat the previous steps four times, using four different post-it notes.

-
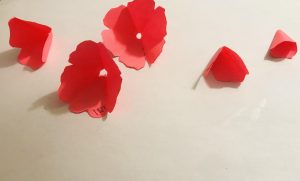
It should end up looking like this.
-
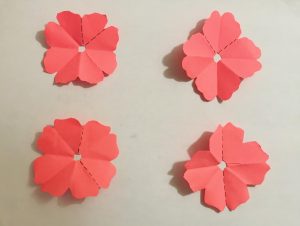
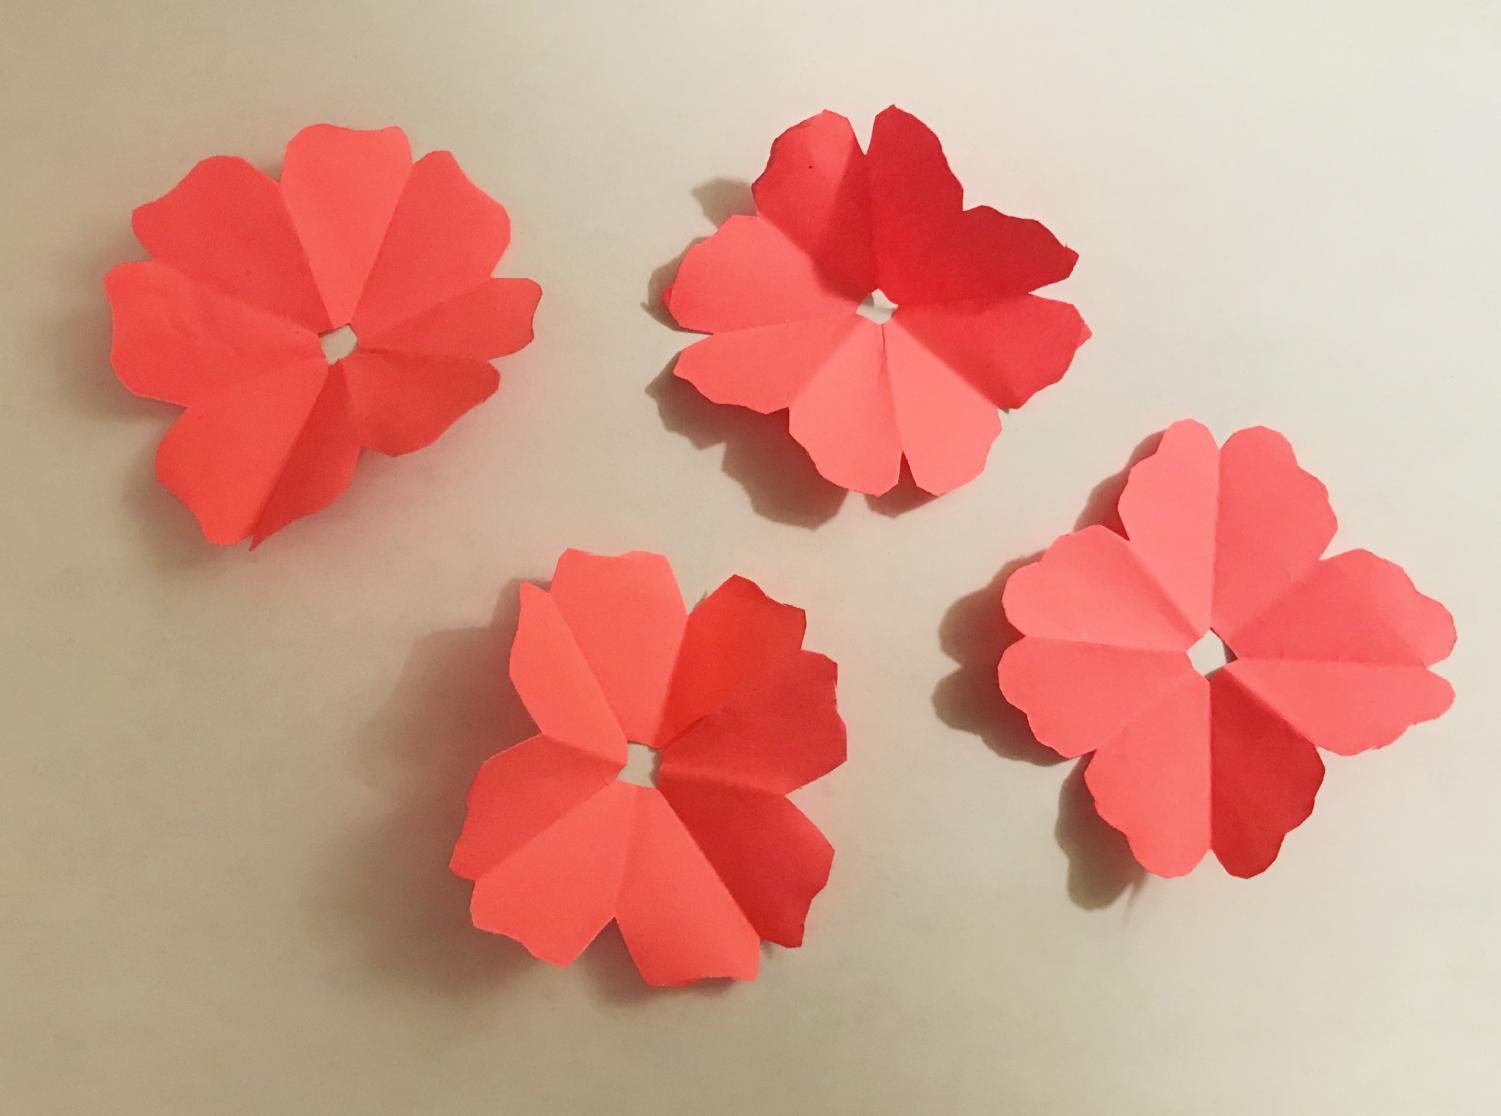
Once you finish with the previous steps, open up the folded up papers to reveal something that looks like the following.
-
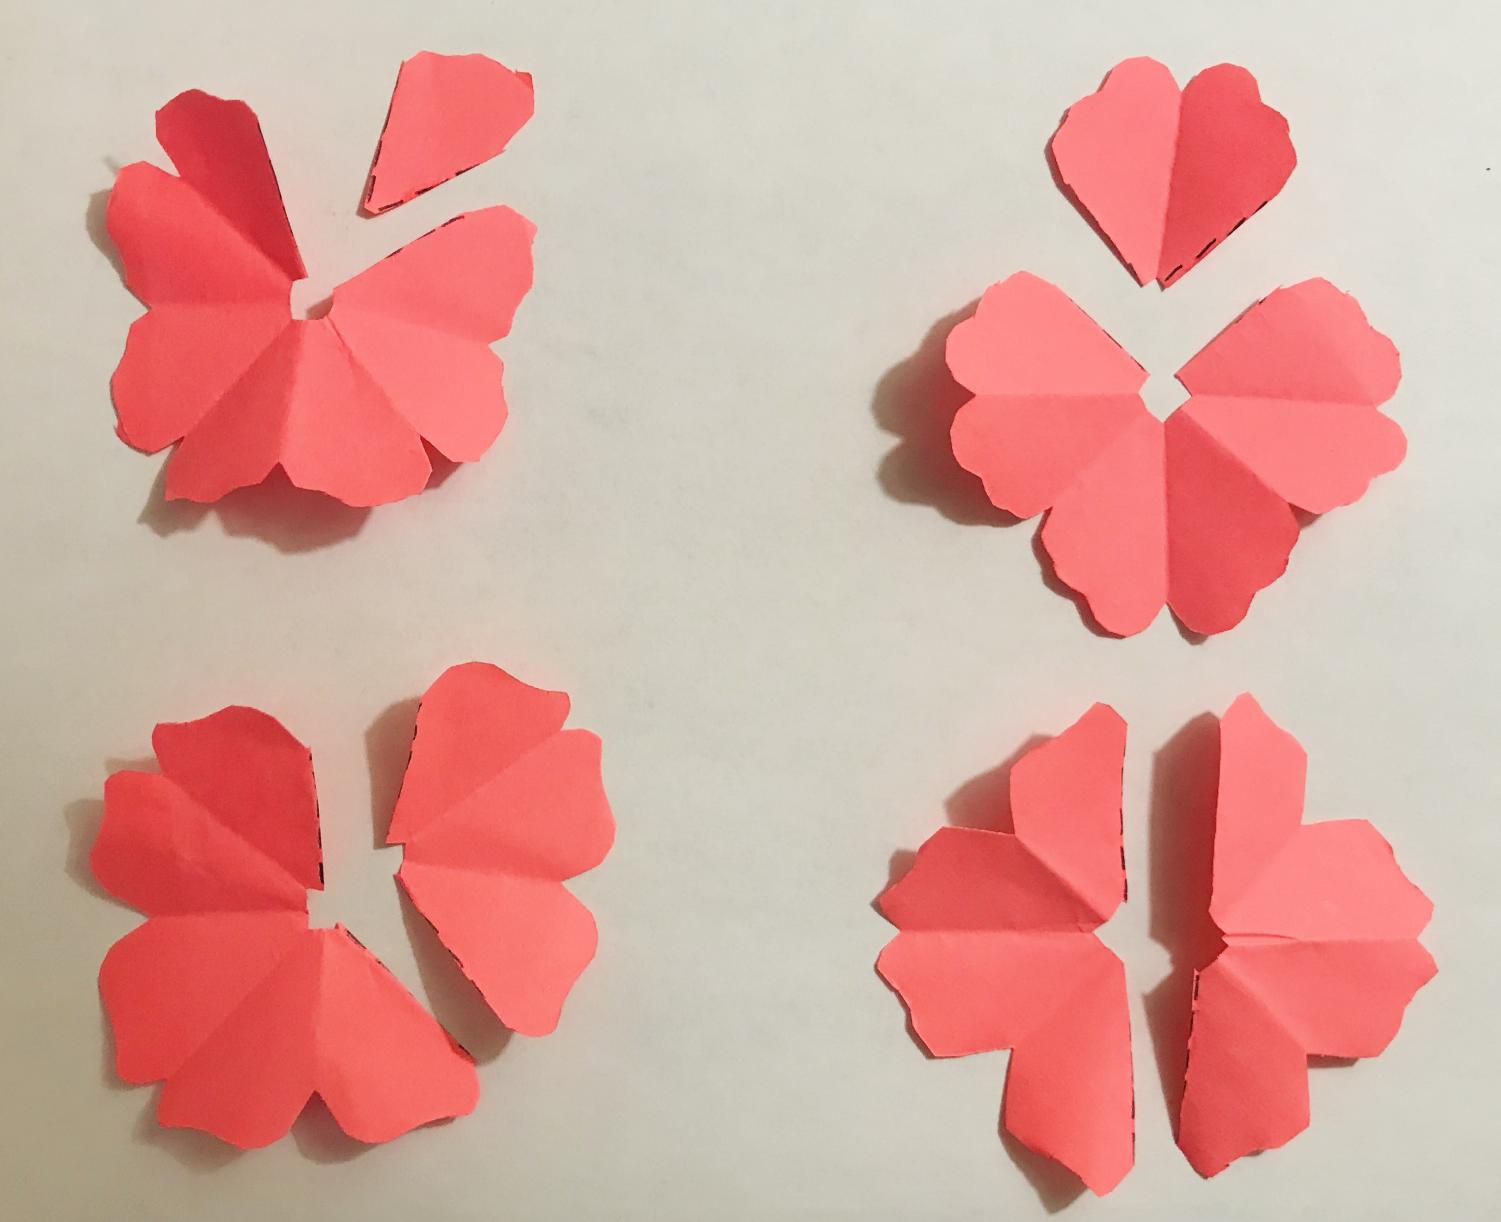
Mark these guidelines on your own flower cut-outs.

-
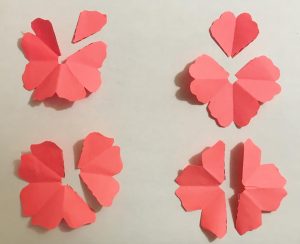
Cut along the guidelines and keep all of the pieces of paper besides one half of the bottom right flower, which can be scrapped.
-
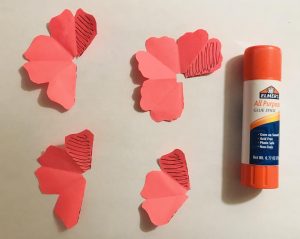
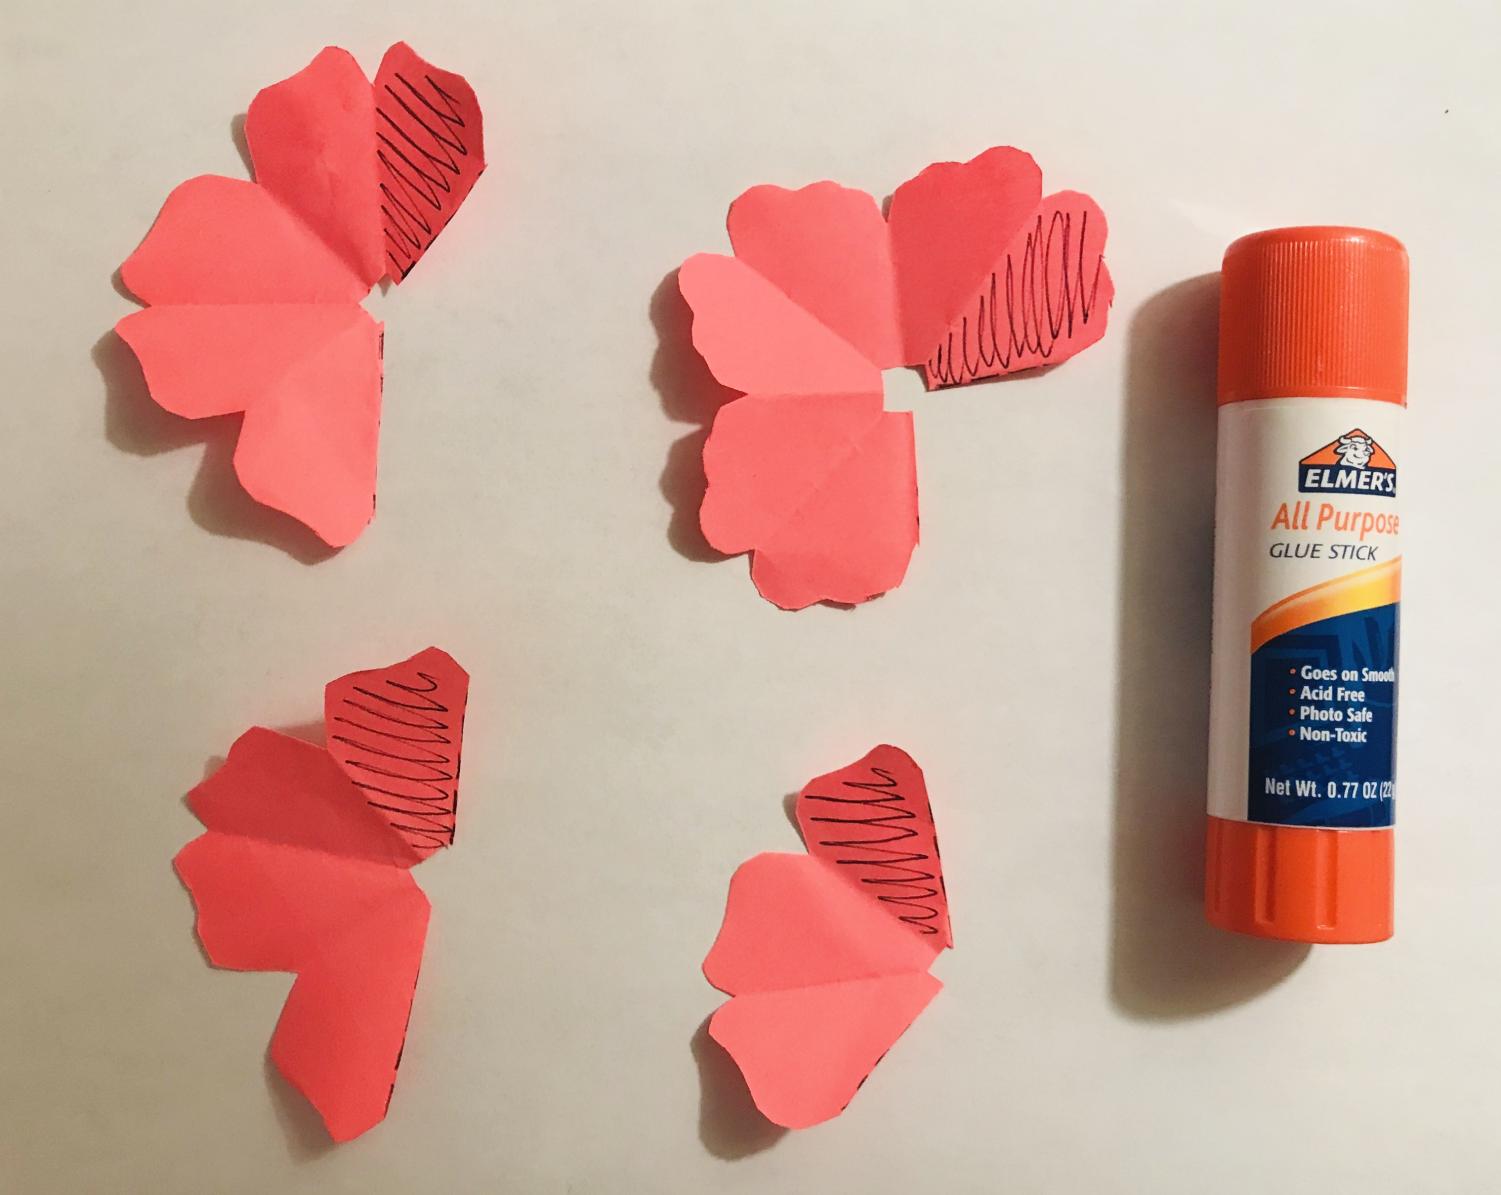
Take the four largest scraps of paper and shade in the following. This will serve as a guide for where to glue.
-
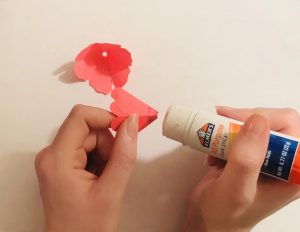
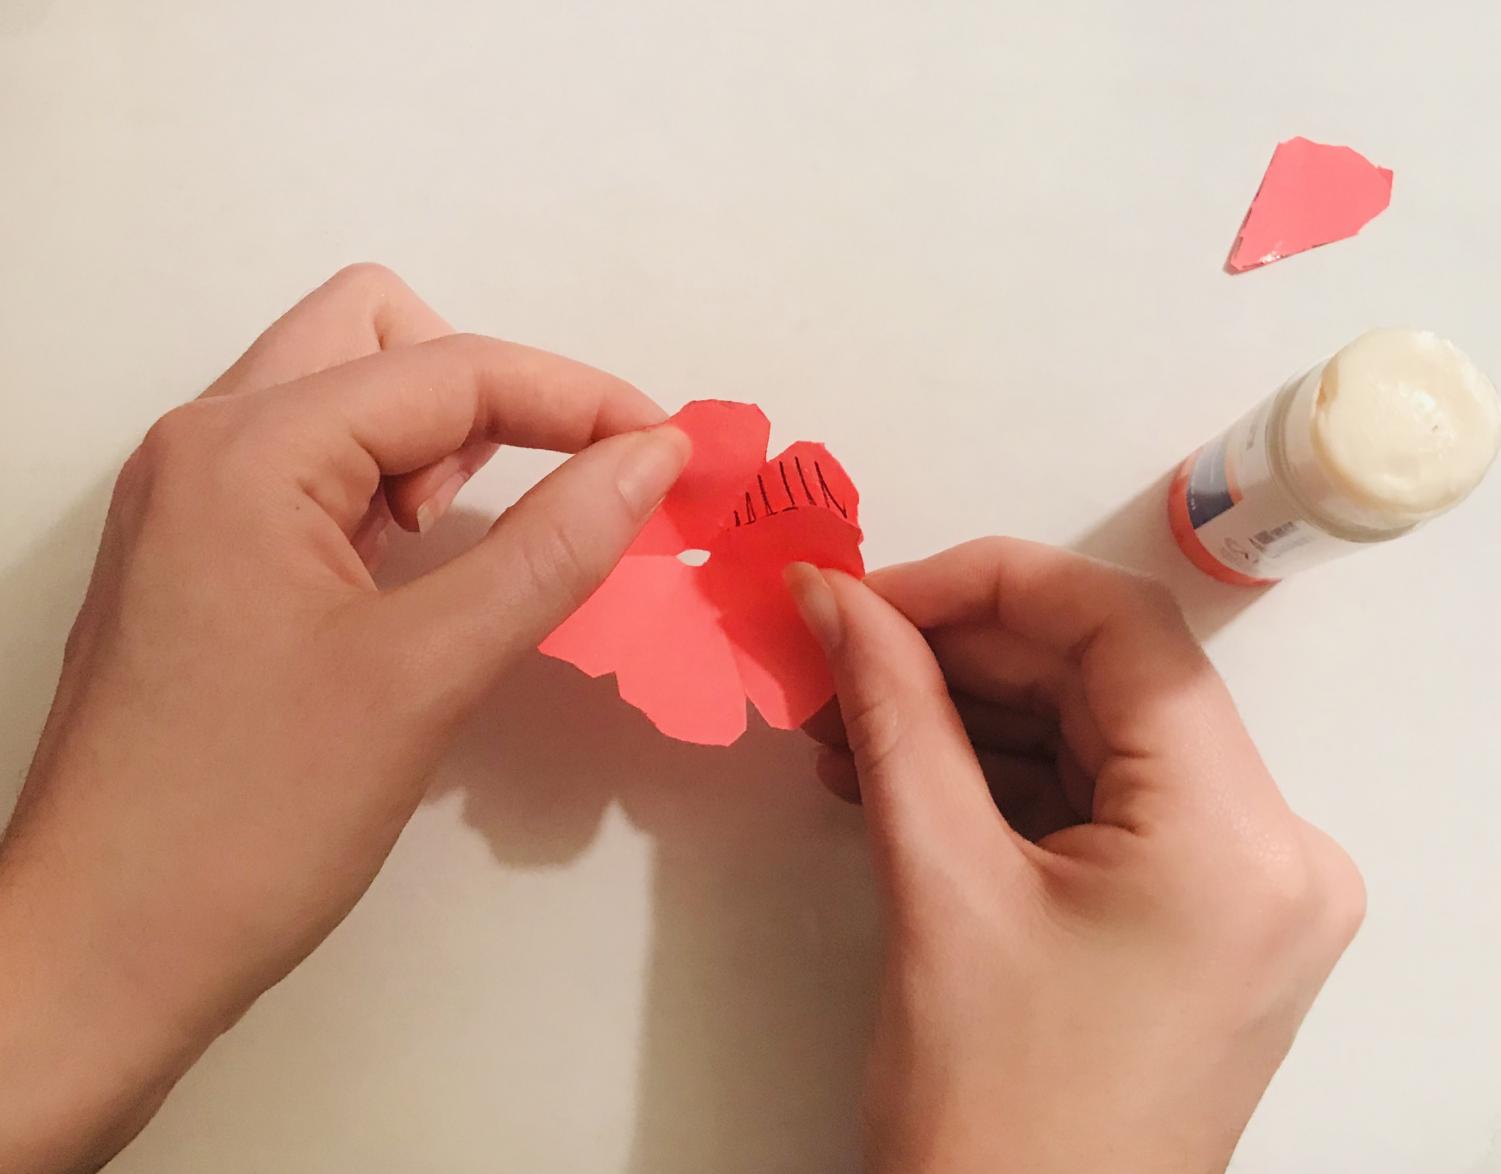
Glue ONLY on the shaded portion, and connect the flower together, making a cone-like shape. Repeat for the other scraps.
-
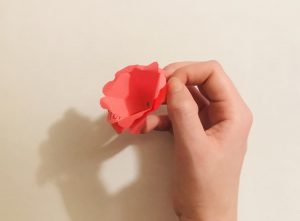
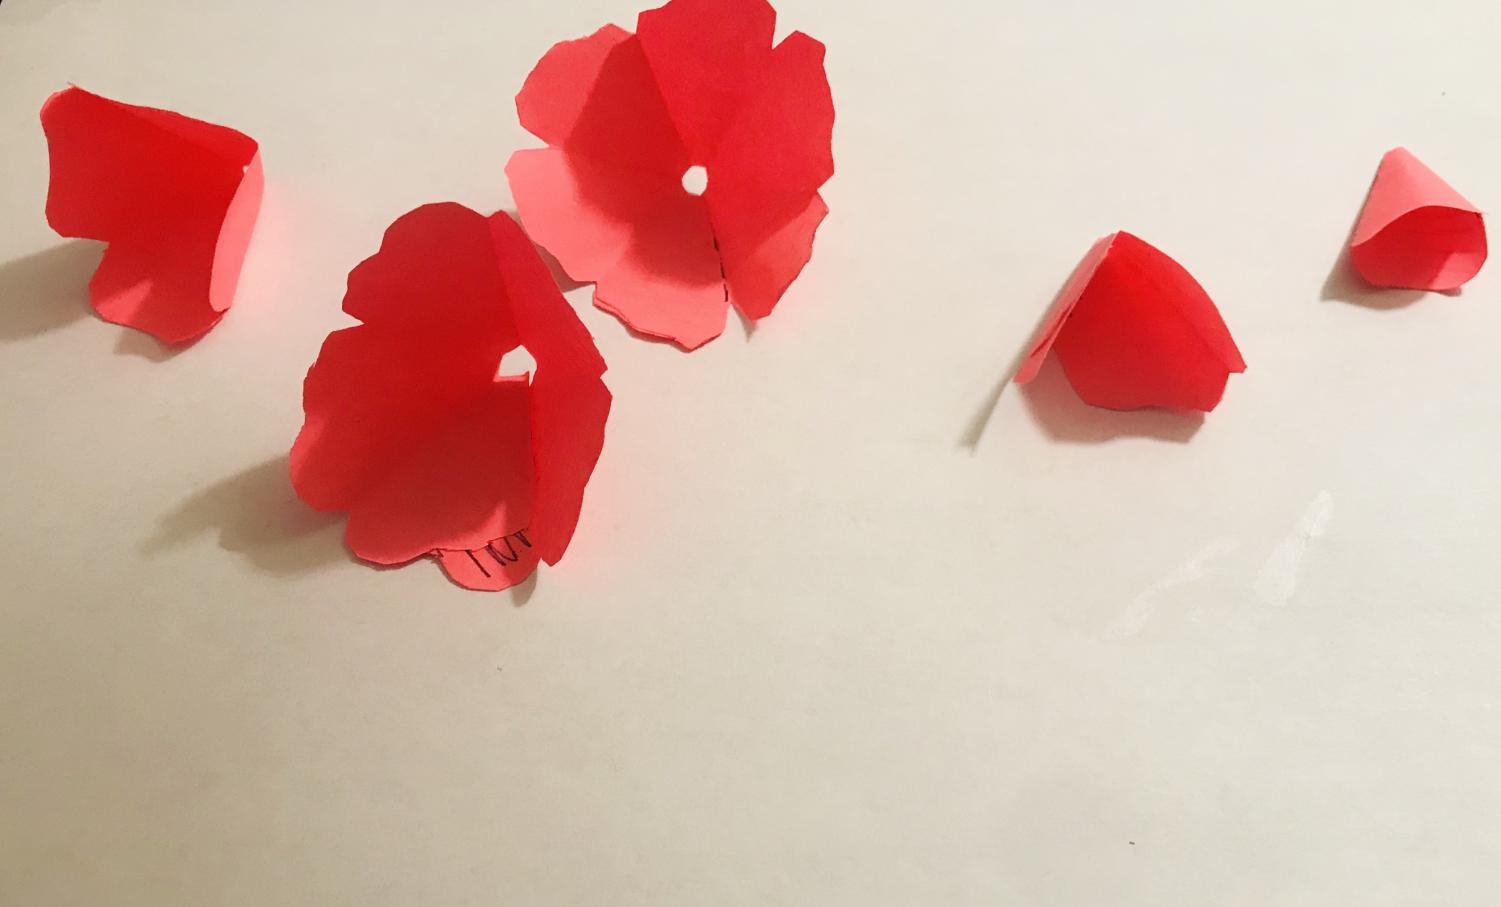
It should end up looking like this.
-
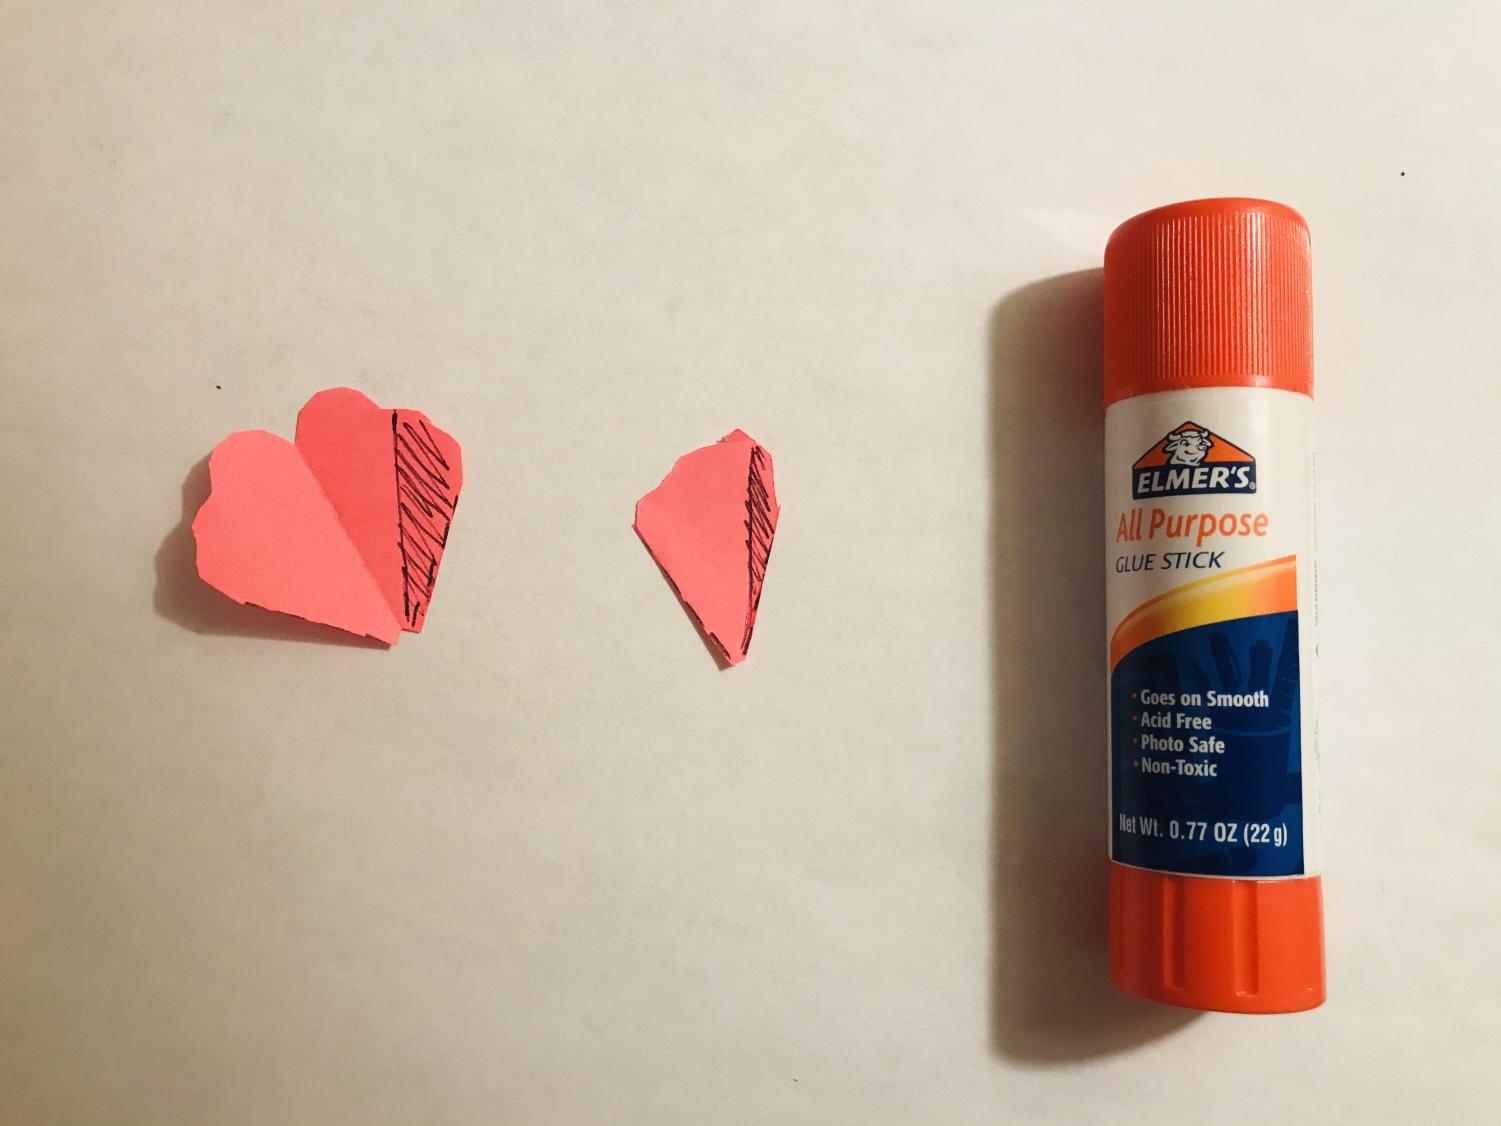
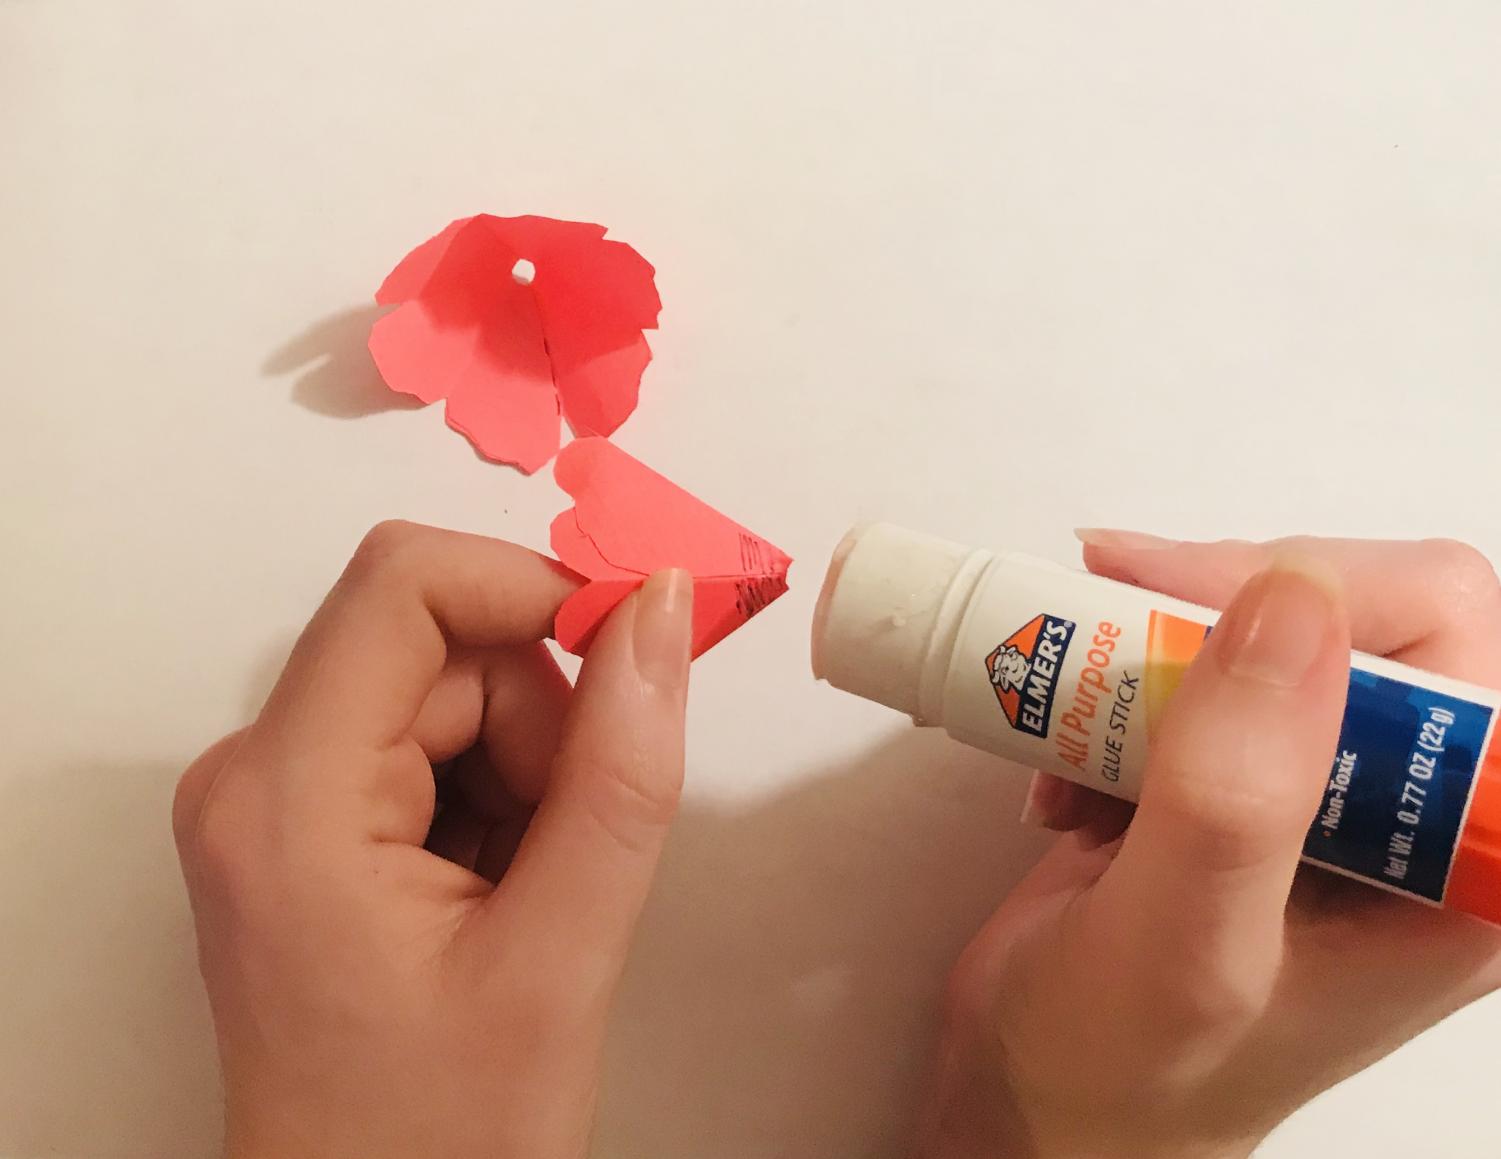
Now, take the two smallest pieces that were set aside and shade as pictured to serve as a guide for where to glue.
-
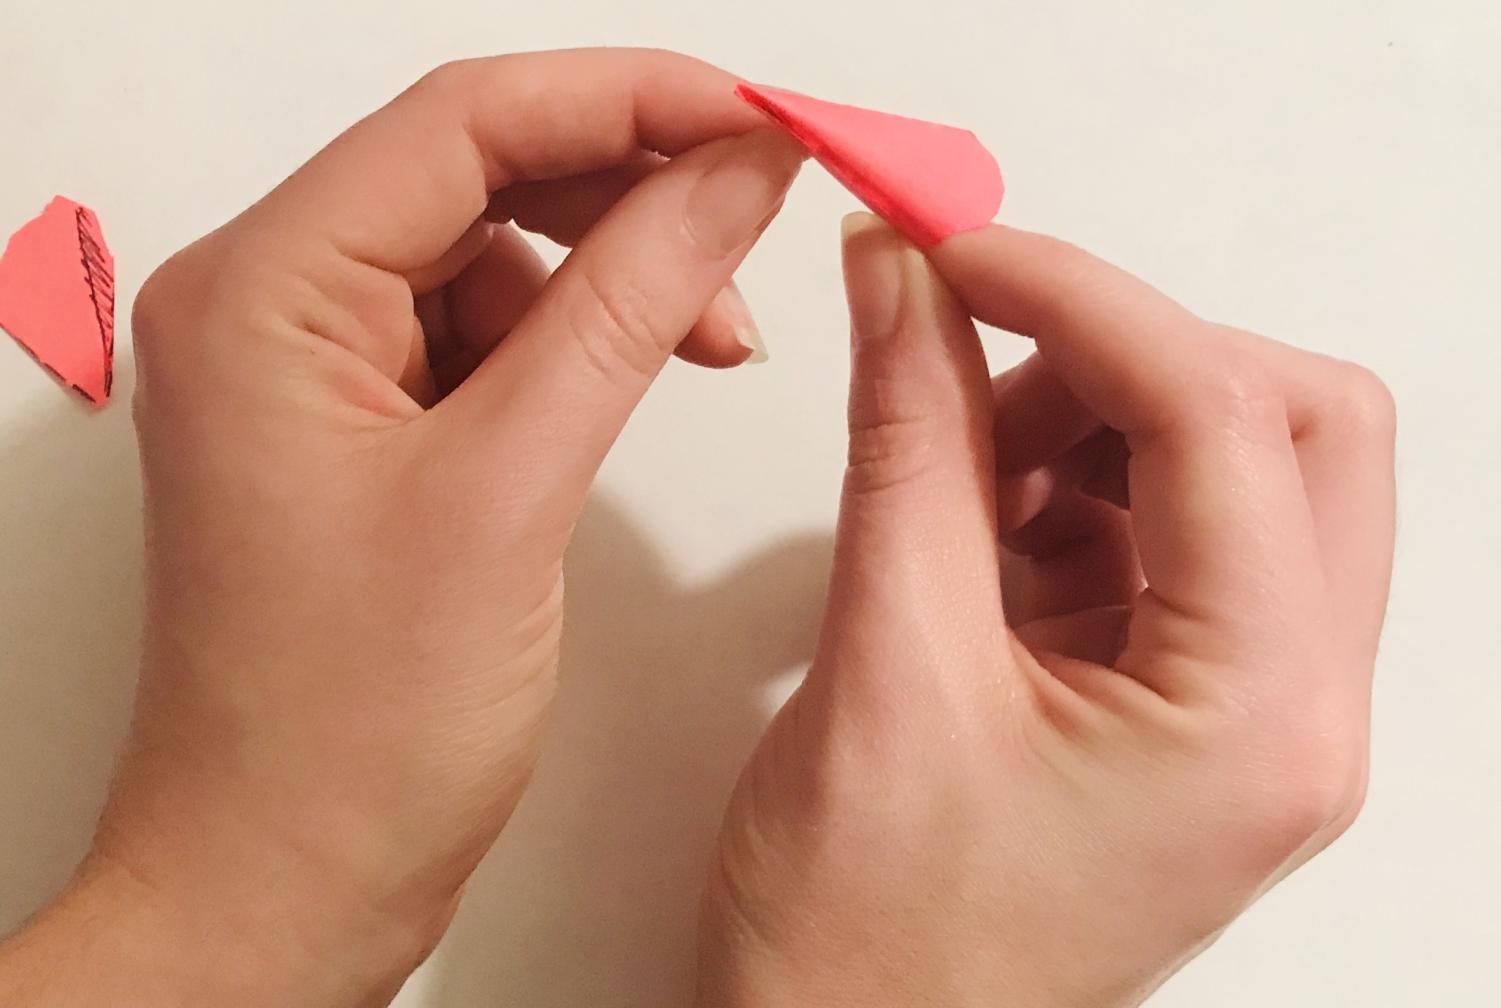
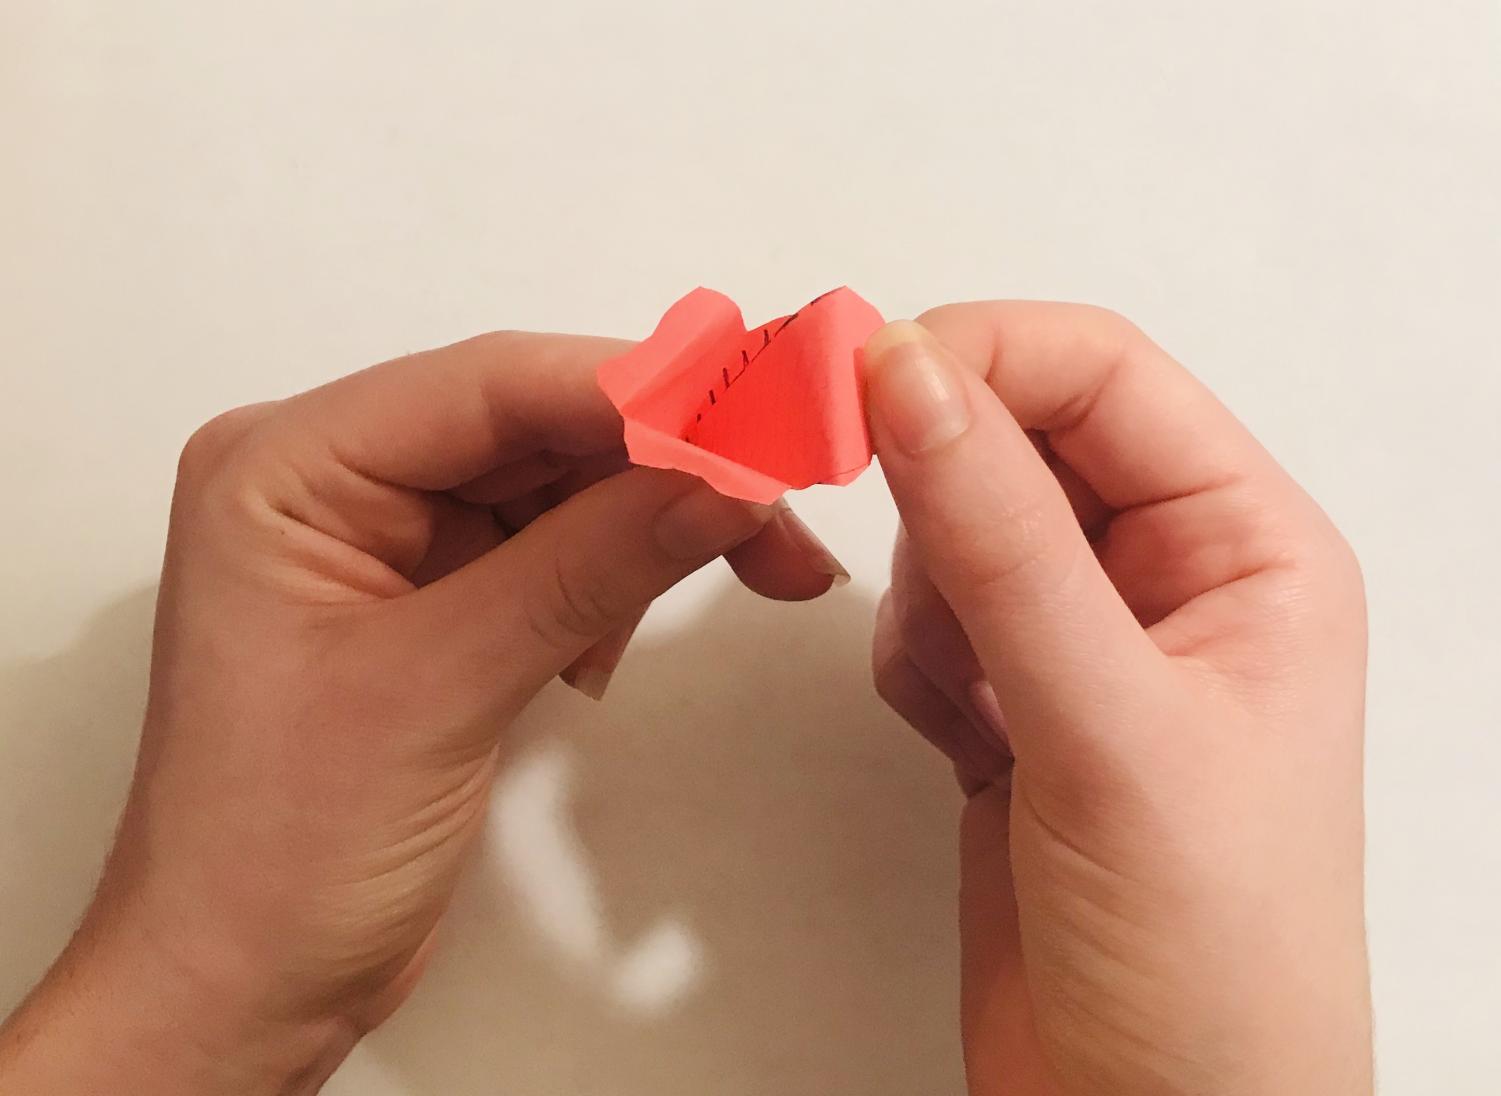
When gluing the smaller pieces, use your finger as a base to make the gluing and shaping process easier.
-
Once the cones have dried, to add depth to the flower, try to curl the edges of the petals slightly.
-
Next, glue the bottom of the second biggest cone (as seen shaded in the image) and insert it into the center of the largest cone.
-
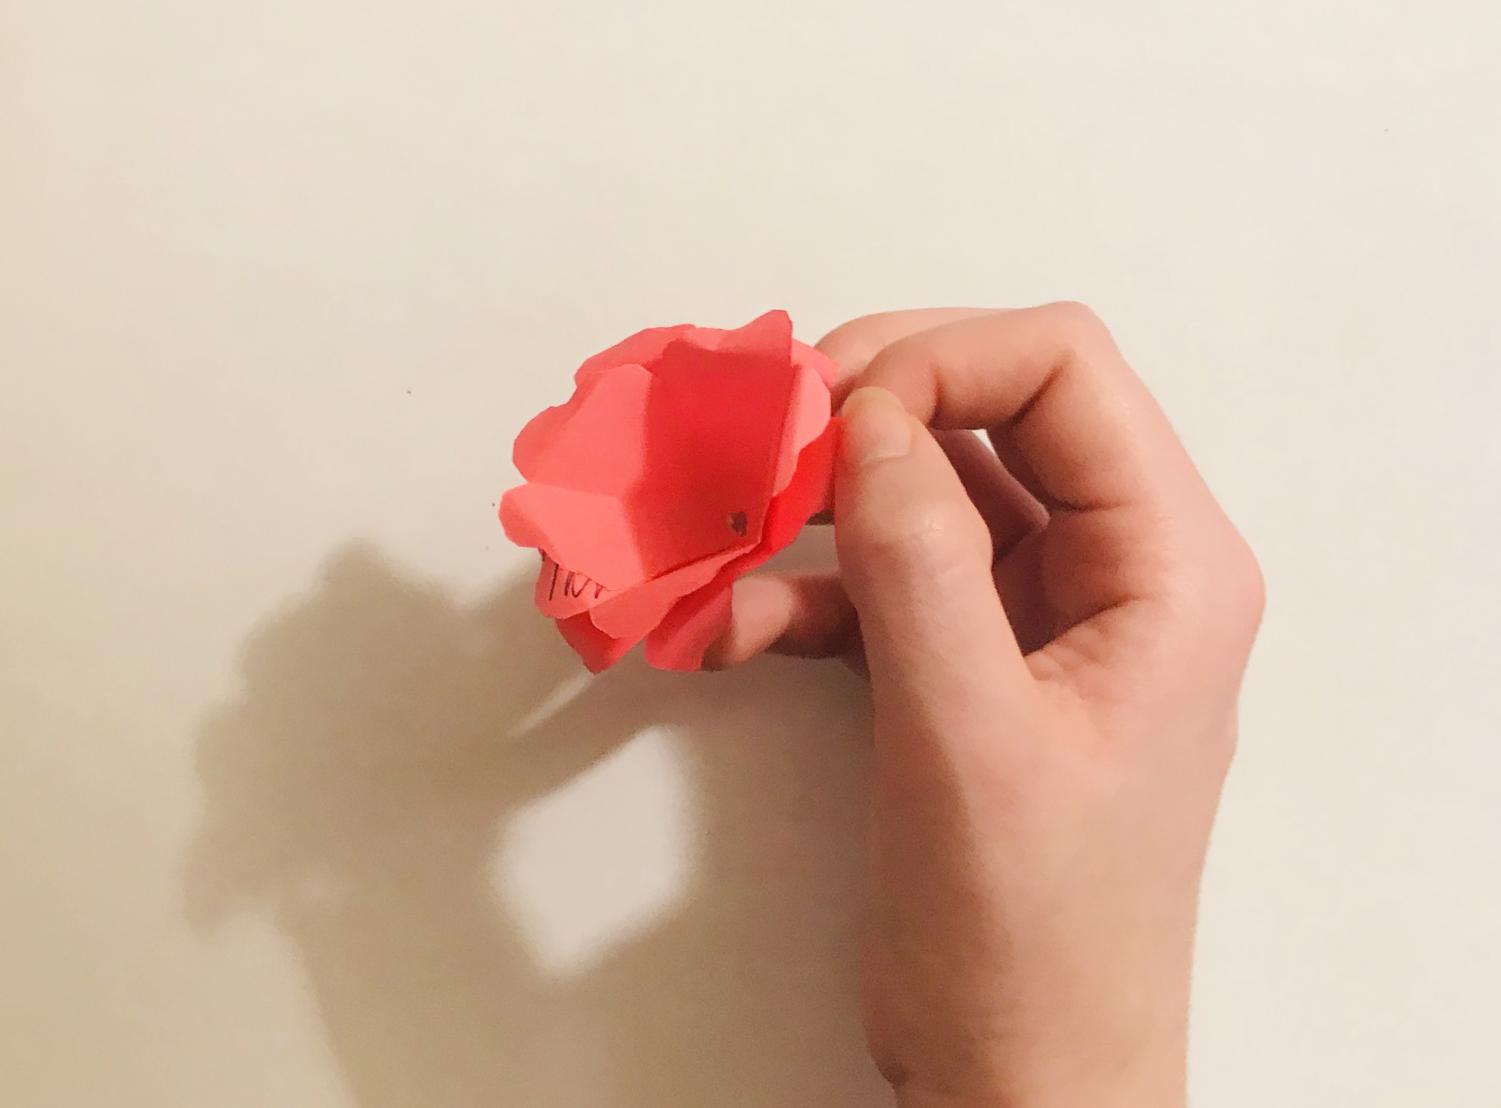
If done correctly, it should look like this. Continue to layer the cones inside of each other from largest to smallest.
-
The end product should look something like this. If you want to be extra, feel free to add a stem of paper leaves for a statement.
-
For this tutorial, the first thing you will need are some post-it notes. (Square shaped origami paper will work just as fine).